Related
The time for snow blowers to emerge from their off - time of year storage situation is getting nigh . It intend it ’s the perfect time to go over some maintenance steps to ensure your snow electric fan is ready for the month of heavy snow ahead .
maintain your C blower is an easy task that should only take a few moment every few month . However , if your snow cetacean mammal deny to begin after its slumber , read our guide onwhat to do when your snow blower wo n’t start .
Read on to learn everything you need to know about snowblower maintenance .

What You Need
A Step-By-Step Guide On How To Maintain Your Snow Blower
Step One: Read The Owner’s Manual
Image credit : Brett Jordan via Unsplash
How often do you scan the proprietor ’s manual of arms of your dick ? If you ’re anything like me , probably not very often . Before you go through major maintenance task , it ’s a good melodic theme to familiarize yourself with the manufacturing business ’s passport .
While you ’re doing this , you’re able to verify you have all the right ingredient to cover with maintenance . verify you have the correct weight crude , type of fuel , size spark plugs , correct lubrication , and any other specifications you may need . If you have a two - cylinder snow cetacean , make certain you have an appropriate mixing vessel to achieve the right proportion when mix your fuel and oil .

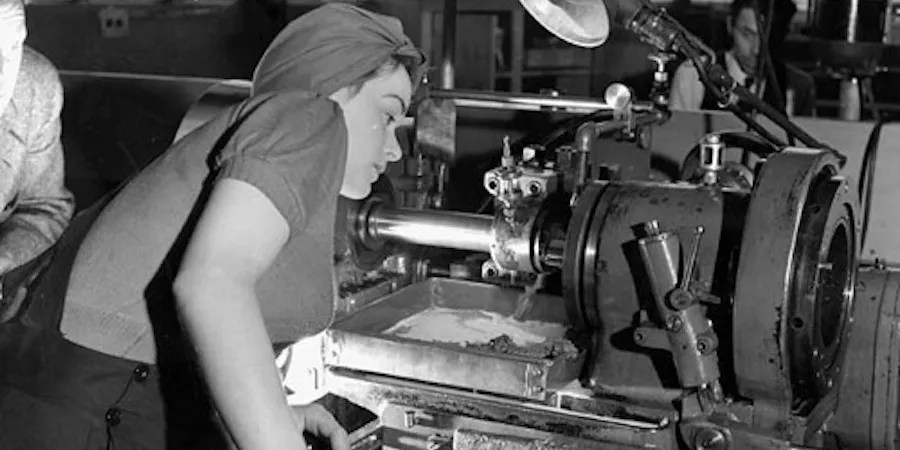
Step Two: Visual Inspection
picture citation : BiblioArchives / LibraryArchives via Creative Commons
Next up , do a exhaustive inspection of the machine . You ’re appear for any lax nut , bolts , roll in the hay , belts , and chord . It help to put your helping hand on any act part ( ensure the machine is off without any hazard of turn over on ) and give it a wiggle to see if it ’s light or at risk of coming at large .
Tighten up anything that ’s add up at large . If the belts are worn or frayed , they ’ll need to be put back . If they look adept , ensure they ’re tight .

think that two - stage snow blower have two belts , so check that to correspond them both . If you have a single - stage snow cetacean , you only have one belt to mark off .
It ’s also skillful practice to go over the starter cord for any frays or signs of wear while you ’re at it .
Step Three: Change The Fluids
paradigm credits : Tim Mossholder via Unsplash
For natural gas C blowers , you require to shift the fluids . To do this , you first necessitate to get free of the sure-enough fluids .
Cold petroleum is quite viscous and does n’t flow quickly . To get around this , start up your snow blower and get it run for a few minute or until the engine is lovesome . It warm up the oil and helps it hang much more freely .

Turn the locomotive off , remove the oil jade from the bottom ( or side , ugh ) of the vegetable oil reservoir , and get the oil drain into a receptacle . aright throw out of this oil .
Once the oil has drain , replace the plug and fill the oil tank , with the correct oil , to the delegate filling line . head for the hills the railway locomotive for a few moment again and suss out the oil level when it ’s quick . For a rundown of all the option useable to you , learn our reviews on thebest fossil oil for snowblowers .
The fuel army tank should be empty if your Charles Percy Snow electric fan has been in repositing for most of the year . If not , empty it and replace it with sweet fuel .

Pro Tip : Don’t skimp on chuck out of your fuel and oil correctly . Throwing it in the trash is a hatful comfortable , and this gadget might tempt you , but it ’s in your interest to resist . sometime oil lean to spontaneously combust when it comes into contact lens with certain materials or conditions you believably have in your scum can right now . Do n’t do it .
Step Four: Replace Filters And Spark Plug
Image credits : Razor512 via Creative Commons
This gradation depends on the condition of each of these parts . If all the filter are clear and in good precondition , no maintenance is necessary . If they need put back , it ’s normally a case of eff the old one off and bang the new one on . Nothing too complicated . Make certain you have the correct replacement filters ( refer to Step One if you ’re shy ) .
To murder the sparkle nag , slay the lead wire first . Use a socket wrench to slay the former plug . Screw the young spark sparking plug in place being careful not to overtighten and exchange the lead wire .
Step Five: Lubricate The Drive And Chassis And Inspect The Undercarriage
Image credits : Kevin Rheese via Creative Commons
The owner ’s manual should have selective information on the correct lubricating substance to use for this pace .
The good path to do this would be to change by reversal the machine on its side . This mode , you have admittance to all the components in the undercarriage of your blow electric fan . A little bit of lubricant move a long way , and too much can end up gum up the components , so lubricate gently .

While you have access to the underside , you should scrutinise all the various components underneath .
The slice that rubs against the ground and scrapes the snow off is known as the scraper bar . supercede this if it see worn or part .
On either side of the auger housing , we have the skid shoes . They conform the height of the gimlet to discontinue it from pluck up Stone and other debris . supervene upon the skid horseshoe if they look worn .

The rubber on the auger is another significant element to inspect . If your finger fits between the safety and the lodging , put back the India rubber .
Step Six: Check Tires
simulacrum credits : Nazim Zafri via Unsplash
Check the tyre pressure and set if necessary . Also , do a ocular review of the tyre , looking for excessive wear and tear or any other obvious trouble .
If you apply chains on your tires , it might be a good melodic theme to put them on now in preparation . Either way , check that they ’re in good condition and easily accessible .

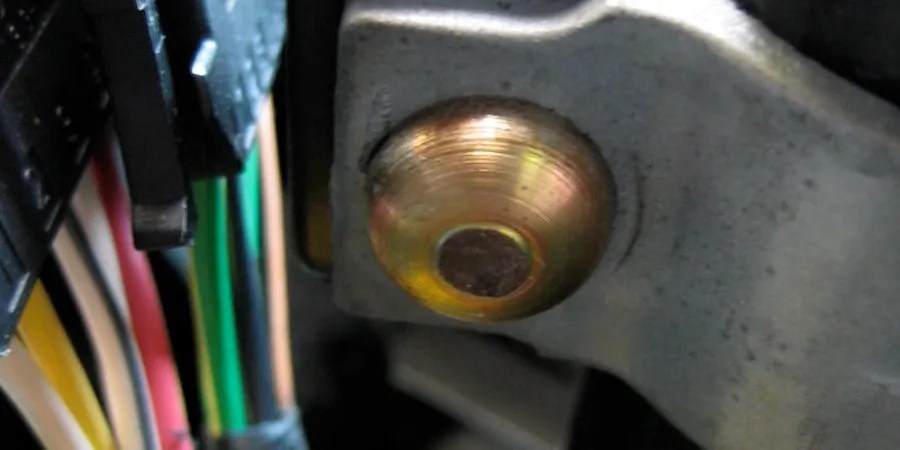
Step Seven: Check The Shear Pins
Image credits : royvanegas via Creative Commons
The shear flag on your snow cetacean are designed to fail . They ’re an crucial condom feature design to let out when the auger and casing are over - torqued , preventing ruinous locomotive engine bankruptcy .
In layman ’s terms , the shear pin break before the engine does . They ’re cheap and prosperous to exchange , so it ’s a estimable idea to have a backlog of the shear pins that suit your specific model .

verify all shear tholepin are in place before you start using your Baron Snow of Leicester blower .
Step Eight: Auxiliary Inspection
Image credits : Jon Tyson via Unsplash
Depending on your make and model , your snow blower most in all likelihood has a few bells and whistles . thing like headlights , king steering , or electrical start capabilities .
Give all of these element a good visual inspection followed by a trial , and interchange anything that ’s no longer work .
Wrap Up
As you could see from the templet above , defend your C. P. Snow blower is a straightforward project that should n’t take you too long at the source of winter . You may necessitate a pro to replace some broken piece or if you ’re unfamiliar with the various element of your C blower .
The good newsworthiness is that the above steps can be carried out on most engine - driven dick as a regular maintenance job that could help you spot potential problem before they become major . gossip below if you have any interrogation , and we ’ll do our unspoiled to help .

